Burlap Swag Drum Shade
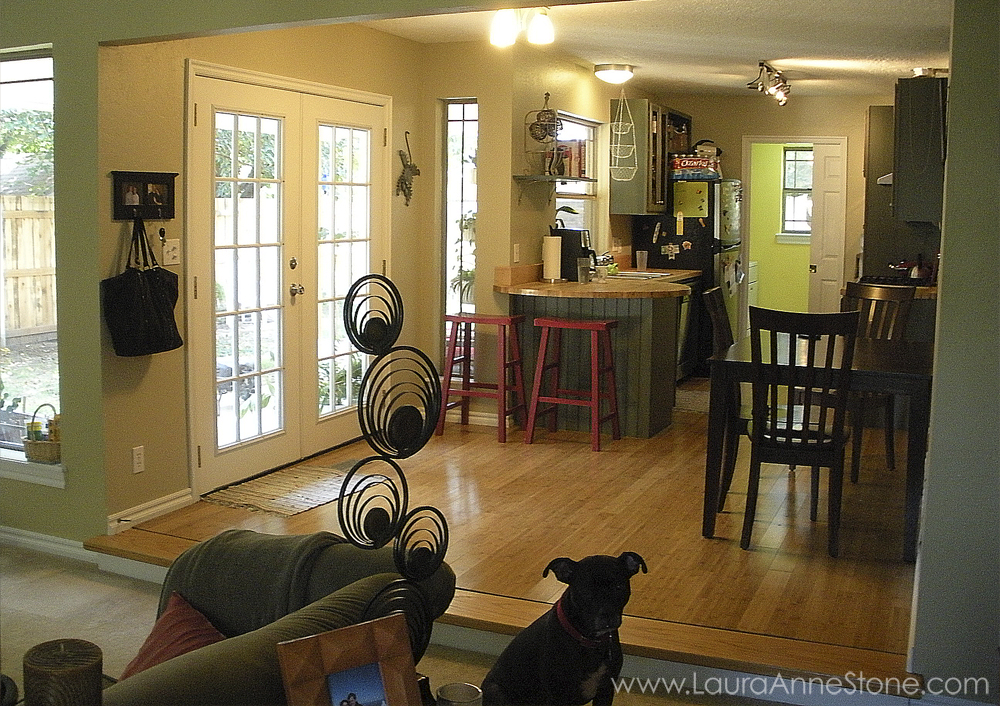
A few weeks (months, maybe… it’s been a busy summer) I replaced the awkward light fixture in our dining area. The fixture itself was mounted off center and it provided three down lights that glared terribly (see it up there, all glaring and being off center).
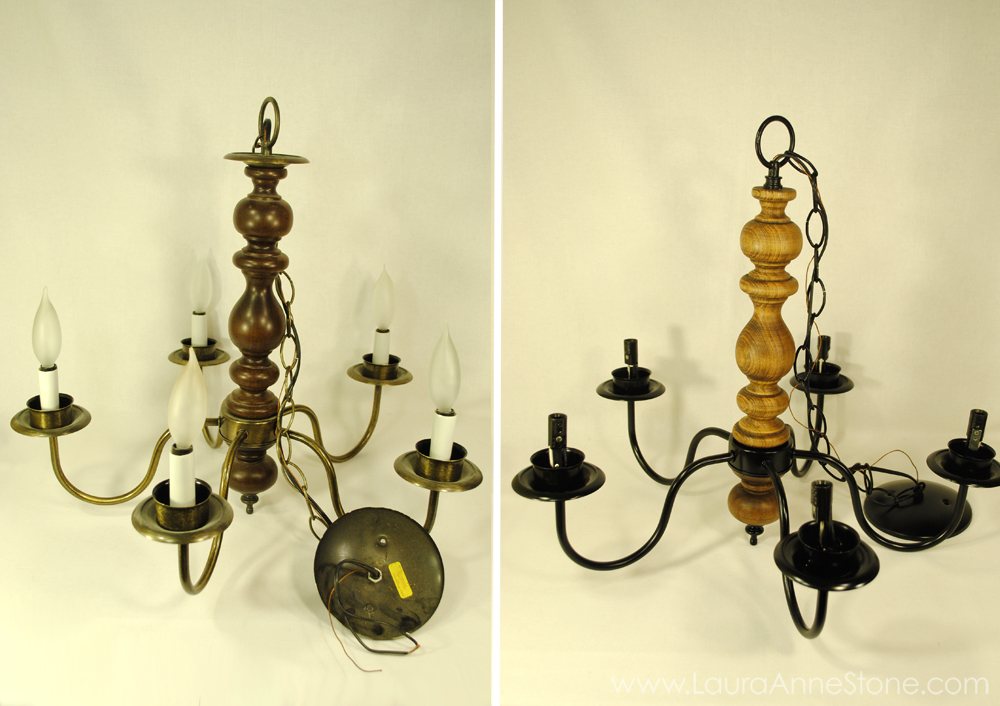
Technically I replaced it twice, the first attempt was with an awesome wood and metal chandelier I found at ReHome (Habitat for Humanity’s local resale shop, great stuff sold cheap for a great cause!), I wanted it to look something like this pendant from West Elm. I stripped and sanded the sticky, nasty 80s dark varnish and refinished it in a light coat of rub-on polyurethane, then painted the metal black. It revealed some really pretty grain patterns and has a great shape and material contrast… but it’s huge. Too huge for the tiny dining area. It’s also too pretty to give up on, however, so for now it’ll be collecting dust in the back bedroom.
Anyway, then I decided to Frankenstein some random fixture parts together (added an old swag chain and fixture plate to a new pendant fixture… probably all of $12 in parts) and revisit my drum shade-making plan.
For the frame I used this tutorial from Design Waffle, there are others but she happened to use the similar materials to those I had cluttering up the garage the first time. One thing I did different, however, was instead of using clamps I used the outer part of the quilting ring (the adjustable part) to clamp the plexi to the inner ring. I wanted to be able to test my shade’s height and by doing this I could make sure it was the right size, just in case. I then just loosened the outer ring just enough to slip it down about an inch, so it held the shape but allowed be to squeeze the hot glue between the plexi and the inner ring.
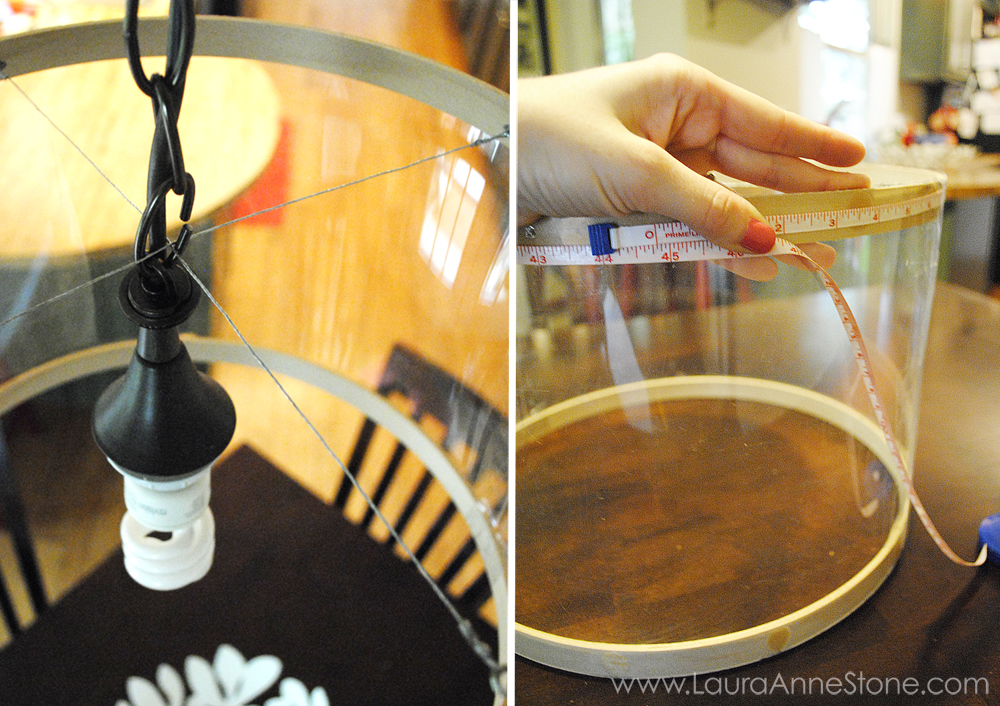
Once the frame was done, I devised this genius way to hold it up (picture wire and tiny eye-screws) and measured the outside of the frame then measured the circumference.
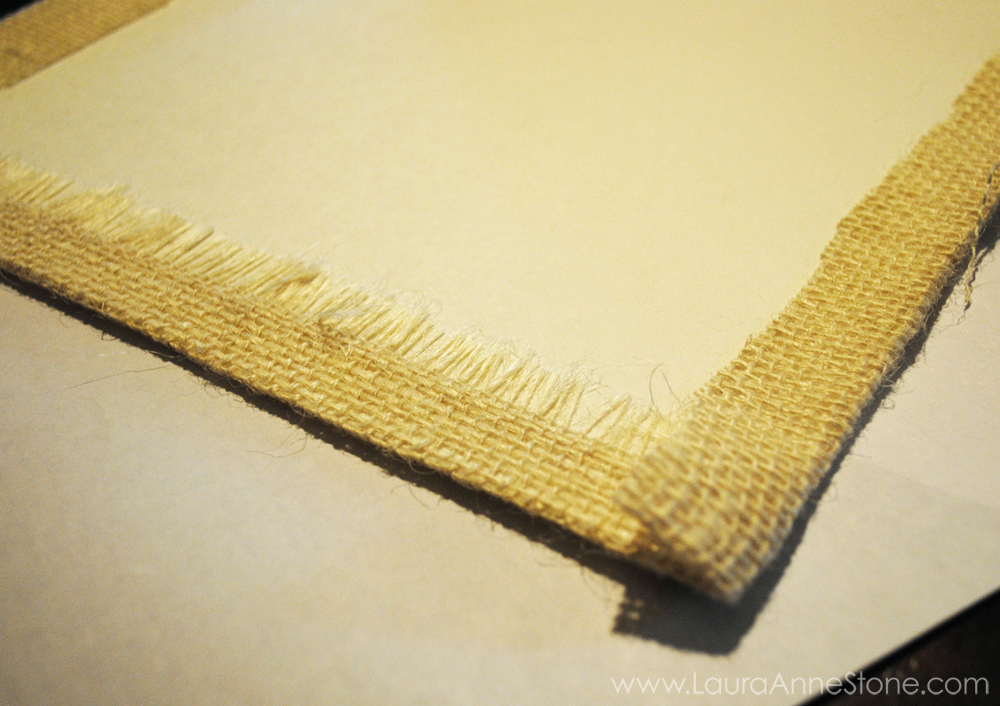
I cut my length (circumference) and width (height of the frame) out of poster board. I actually had to use two pieces and butt them together with clear tape so as not to show any seams when the light is on. The tutorial referenced above skipped the poster board but I didn’t want any glaring and the light would definitely glare right through burlap. I also wanted to give myself a way to change it if I wanted to. Using poster board means I only have to replace the fabric shell, not the frame.
![]()
Once you have your poster board piece ready, use it as a pattern to cut your fabric (leaving about .5″ as a “seam” allowance) and use spray-adhesive or a bead of glue at the top and bottom to affix it to the poster board. Fold the end and adhesive it down flat.
Carefully fold over your remaining sides, tack them down with adhesive. Then use a few dots of hot glue to secure it on your frame, starting with the bare end, and taking care to keep it straight. Hang it up and you’re done!
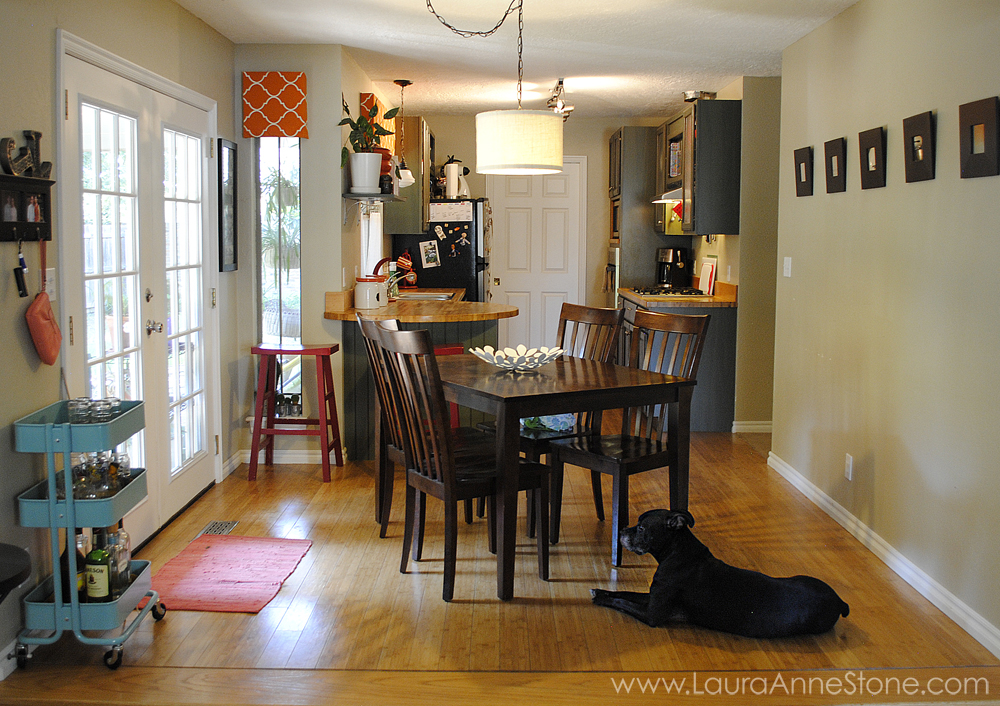
Doesn’t that look so much better?! Also note the new fixture over the sink. Both really add the character and dimension this space was so badly needing.