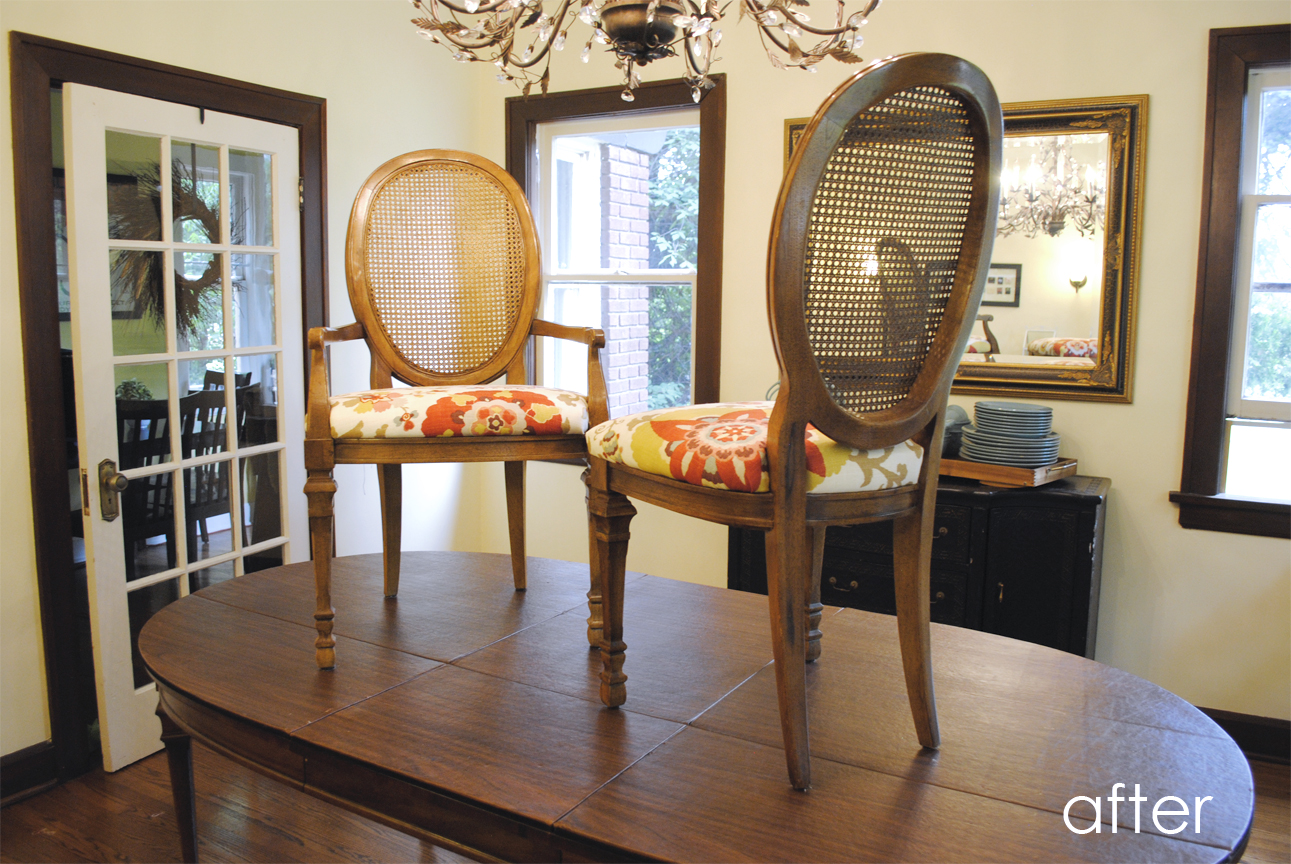
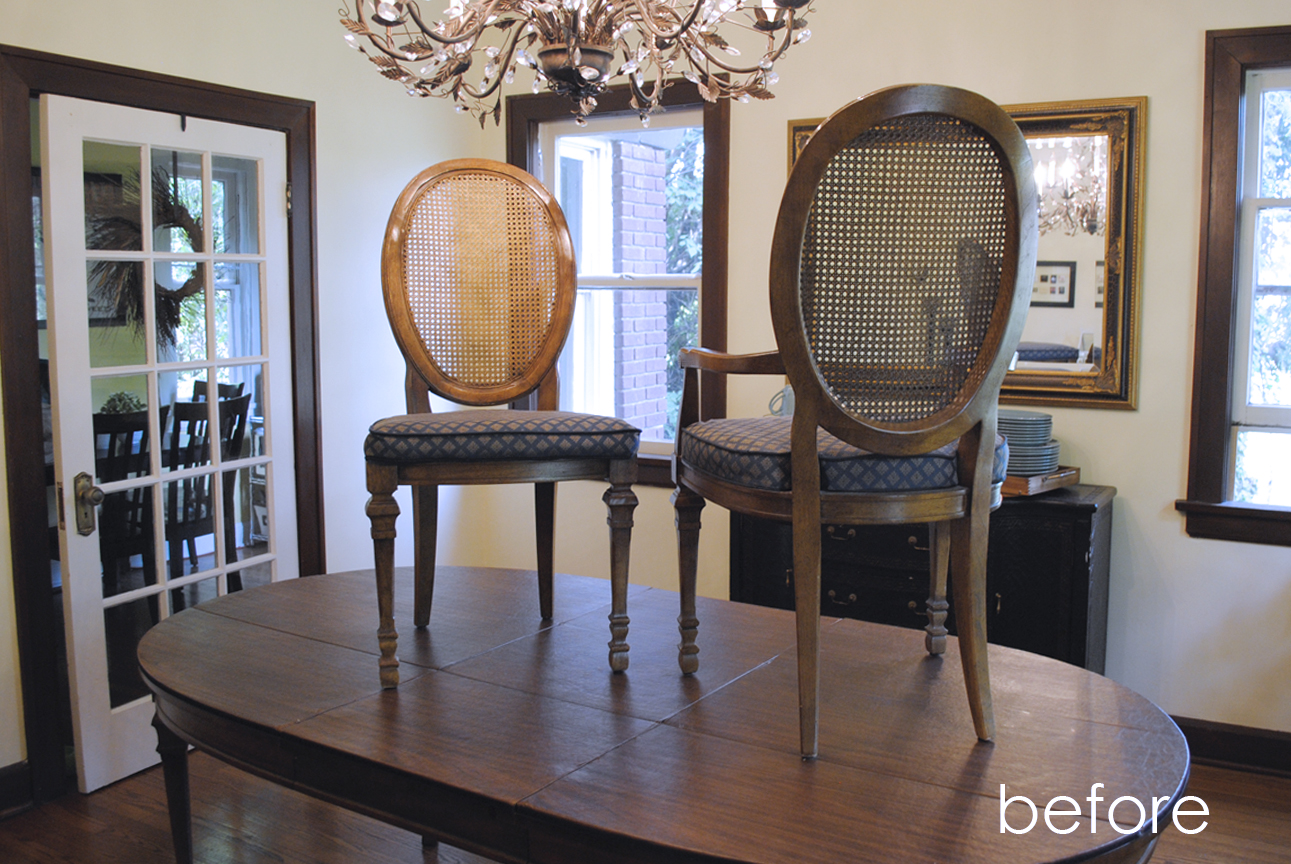
Quick and easy reupholstered dining chairs
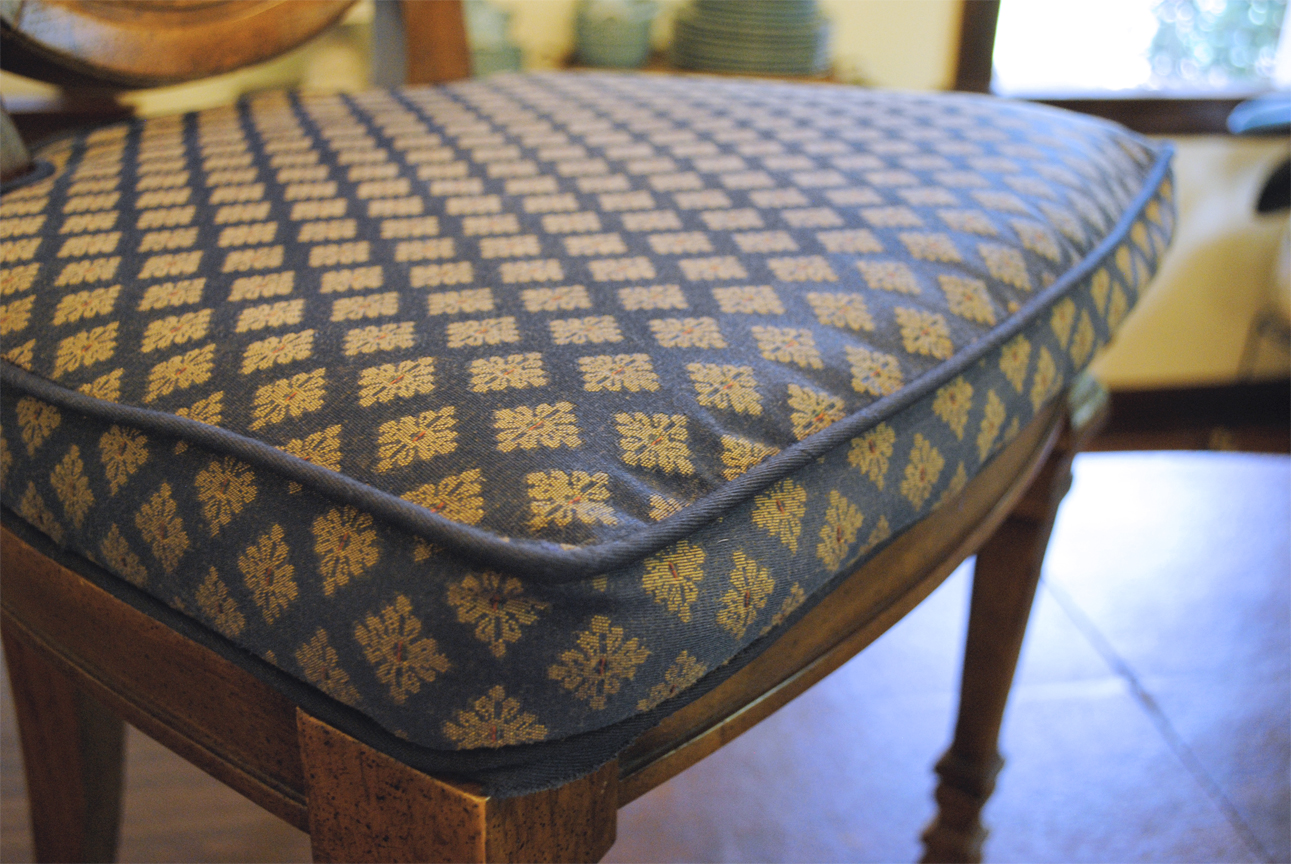
Our lovely dining table was reupholstered sometime likely in the 1990s with a sort of satiny jacquard fabric in navy blue with a gold and red pattern. The table is so formal that I wanted something a little less formal to soften the room.
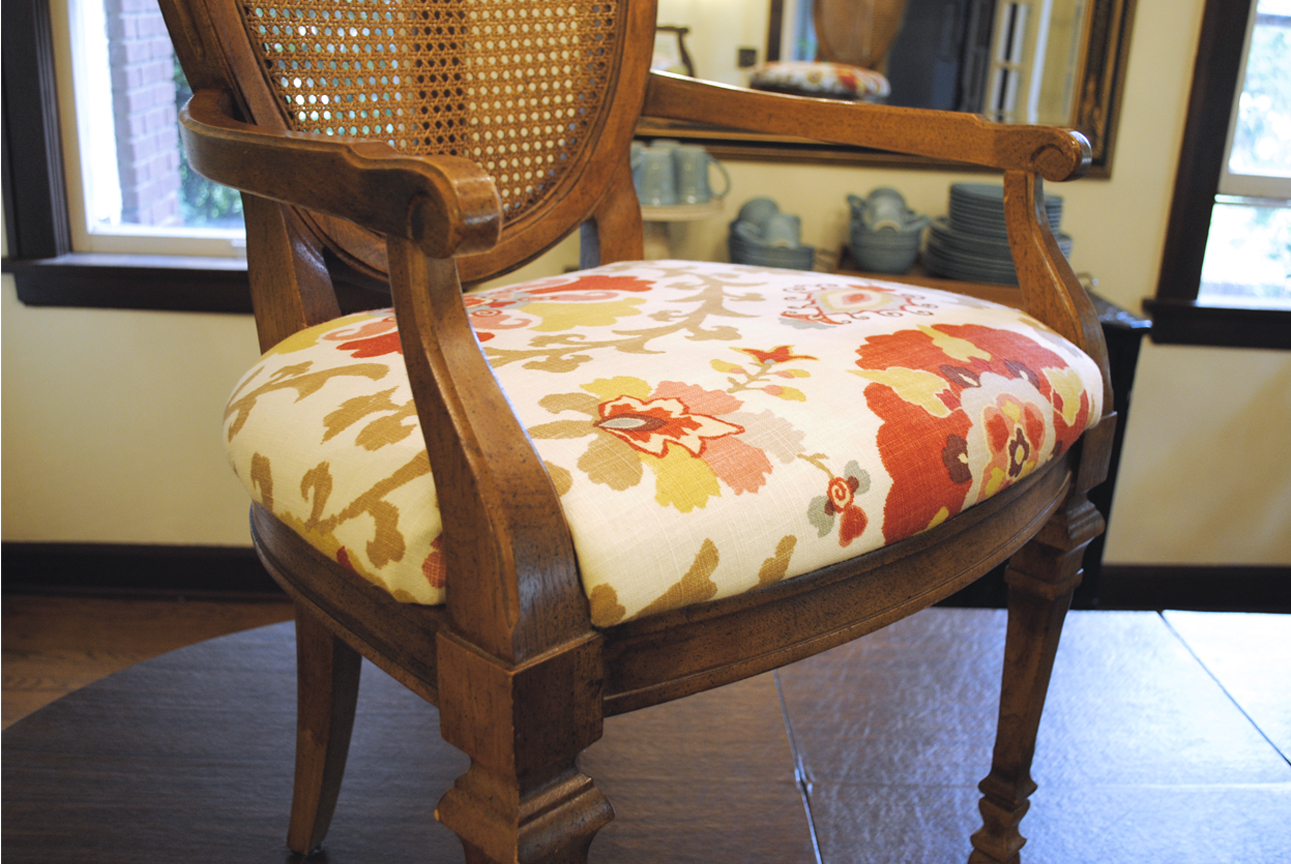
I loaded up a cushion and headed to the upholstery and drapery fabric store down the street (have I mentioned how much I love living here, close to everything?) to get an idea of what was available. I’d been eyeing this Braemore Silsila fabric in curry (it also comes in a pink/purple, blue and green/brown) and took a sample when we got the new dishes to make sure it looked good with them. Luckily it has just enough of the turquoise to coordinate but not enough to overwhelm my guests (no thank you, 1970s matchy-matchy rooms).
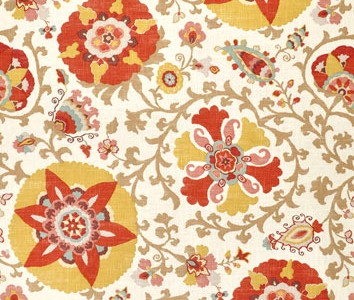 Once I got it home, I rolled the entire thing out and decided how to best use the pattern. The salesman suggested matching the pattern on each cushion but with such a large pattern it would amount to triple the fabric – and triple the cost. So against his advice, I just laid it out and cut a trapezoid shape large enough to cover each seat with a few inches to spare.
The seats had coordinating piping to define each cushion but this was supposed to be a quick project – plus piping is more formal than I wanted – so I decided to just cover the whole thing with batting to smooth the edges.
Here’s a quick rundown of the steps:
- Cut fabric and batting approximately the same size, enough to cover the seat with at least 1-2 inches to spare to provide ample staple space.
- Starting at the front center, secure the batting to the seat. Do the same for the center sides to secure the batting to the piece, then work around the sides, front and back securing the batting to the seat.
- Follow step 2 with the fabric, but regularly flip the cushion over to ensure you’re not creating creases or skewing the fabric as you secure it. You can also check YouTube for tutorial videos on different corners. Mine were round enough to not have to do anything too fancy but your project might require a special fold (or you may want one just to dress it up).
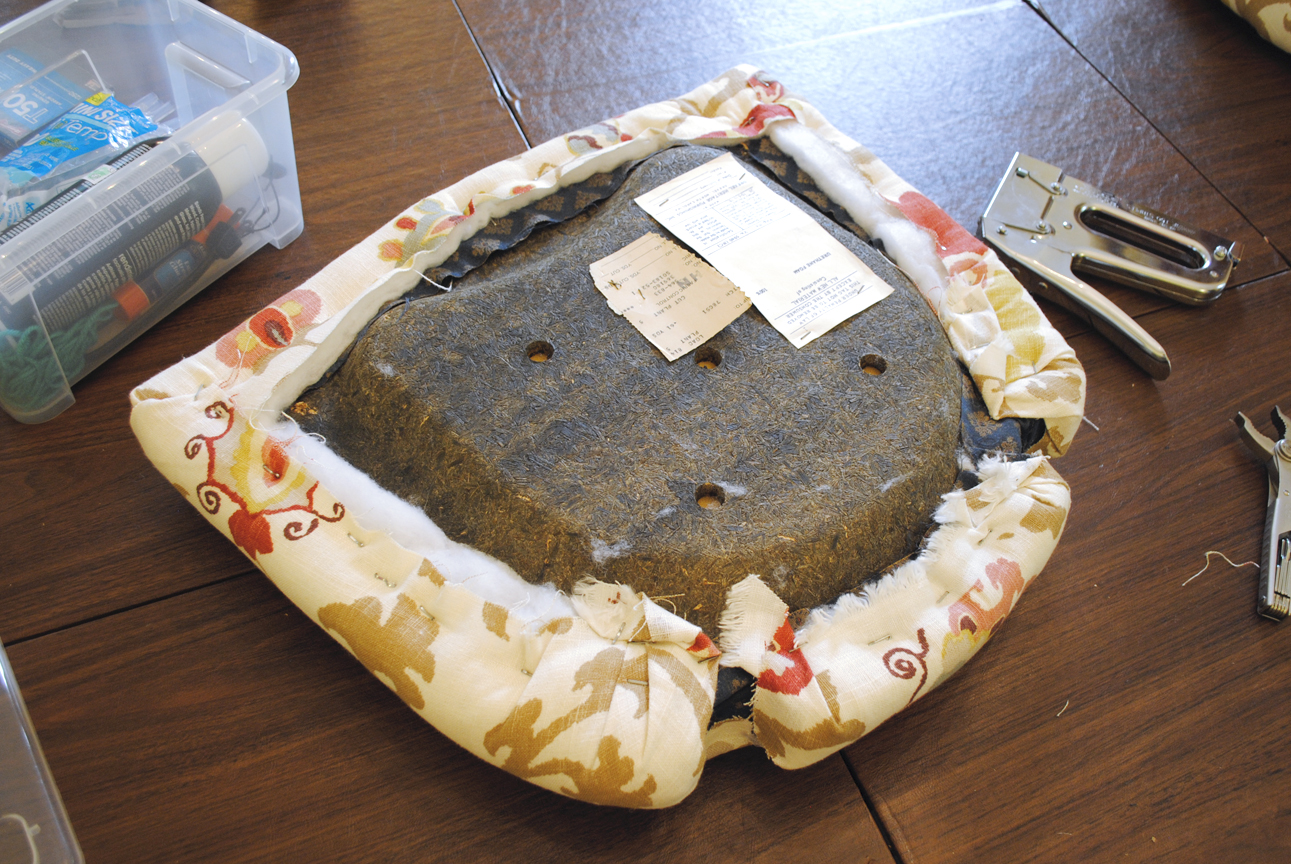
- Once the cushion is covered to your satisfaction, trim the batting and any excess fabric that might show when chairs are reassembled. Be careful not to trim too close to your staples to avoid fraying or tearing.
One side note for my project, I had to snip out the batting and cut slits in the fabric where the seats are notched to accommodate the legs. On the raw edges of the fabric in the leg notches I just used hot glue to stop any fraying as well as secure the edges down, ensuring they don’t work their way up and out of their crevices. I also had to do some creative twisting to get some of the curves smooth, but staples held that all the same.
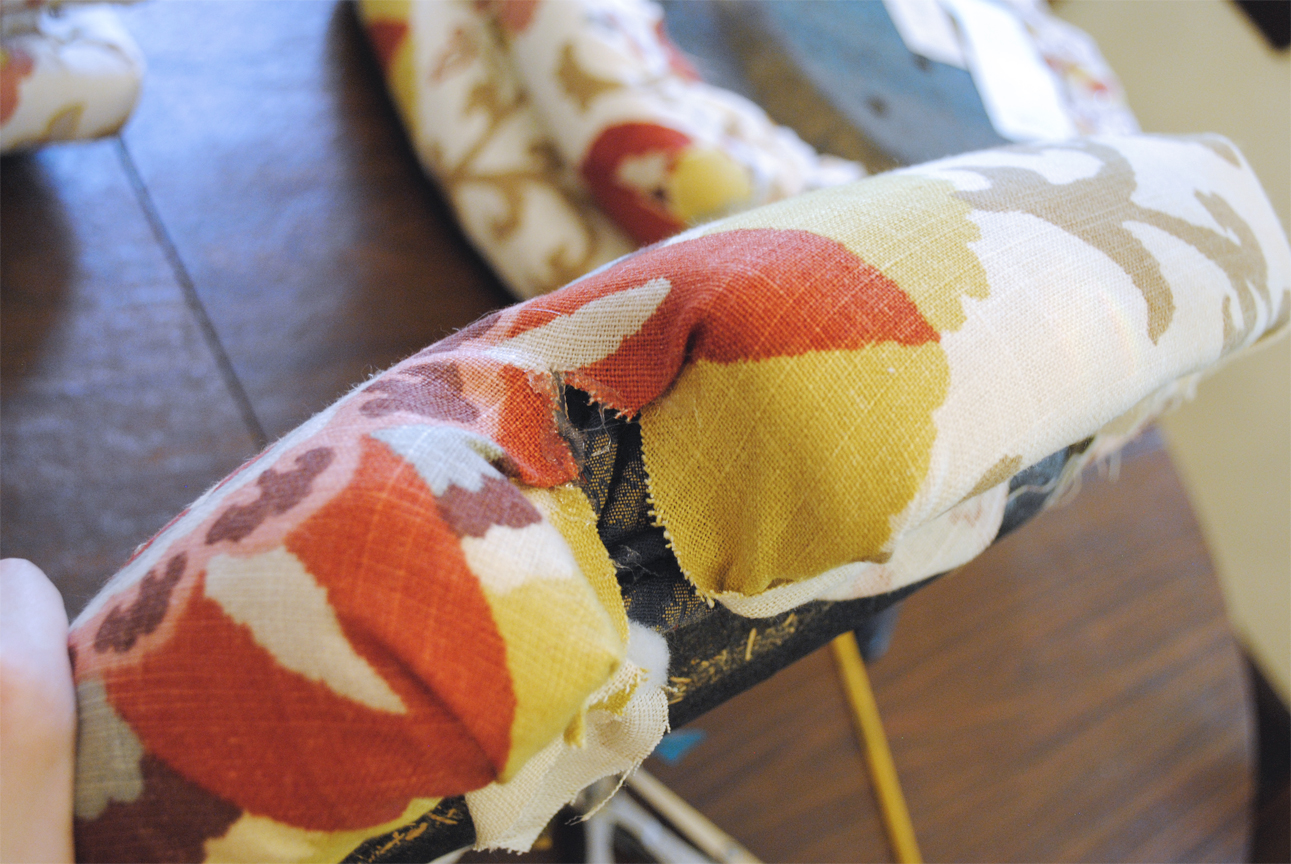
As you can see, some of the navy fabric is still peeking out from under my one-day reupholster job. I’m sure professionals everywhere are shaking their fists at the screen.

I also recommend using some sort of fabric protector like Scotch Guard on each one prior to reassembling your chairs. I use it regularly on all our non-leather upholstery and it helps keep things looking good between cleanings.
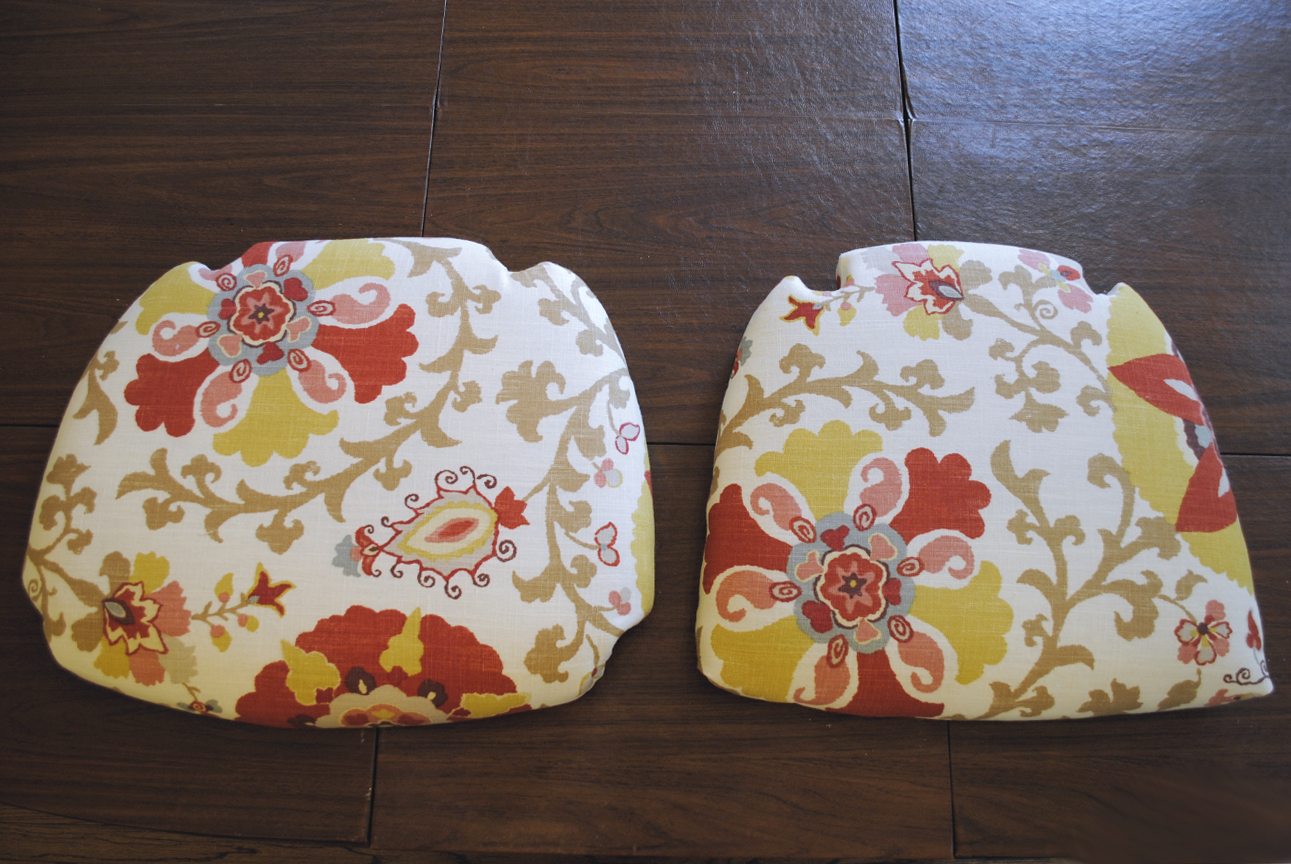
Honestly these were the easiest furniture project I’ve ever attempted.