Jute Twine Wrapped Monogram Ampersand
Though I’ve been busy crafting and domestic-ing away, I haven’t had much time to actually blog about what I’ve done. I have a small backlog of projects that I’ll try to get posted, if for nothing else than to get the photos off my desktop.
A few weekends ago, after some unsuccessful attempts to find flooring for the living room, lights for the kitchen and some other large-scale domestic frustrations, I decided I needed to give myself a small project so I could feel that gratifying sense of accomplishment that comes with actually finishing something. Lightning struck and I dug out some Styrofoam scraps, twine and hot glue.
You will need:
- 1-inch thick base material; I used Styrofoam but you could also try layered corrugated cardboard, foamcore board, or any other materials that can be laminated together to create the depth you want (you could buy a ready-made monogram from a craft store, though I am always trying to use up craft scraps so I went the homemade route)
- Twine, yarn or cord (I might do some holiday or seasonal versions in bright colors)
- Hot glue (lots of it!)
- Time… like, “I’m going to watch this entire documentary while I do this” kind of time
Directions:
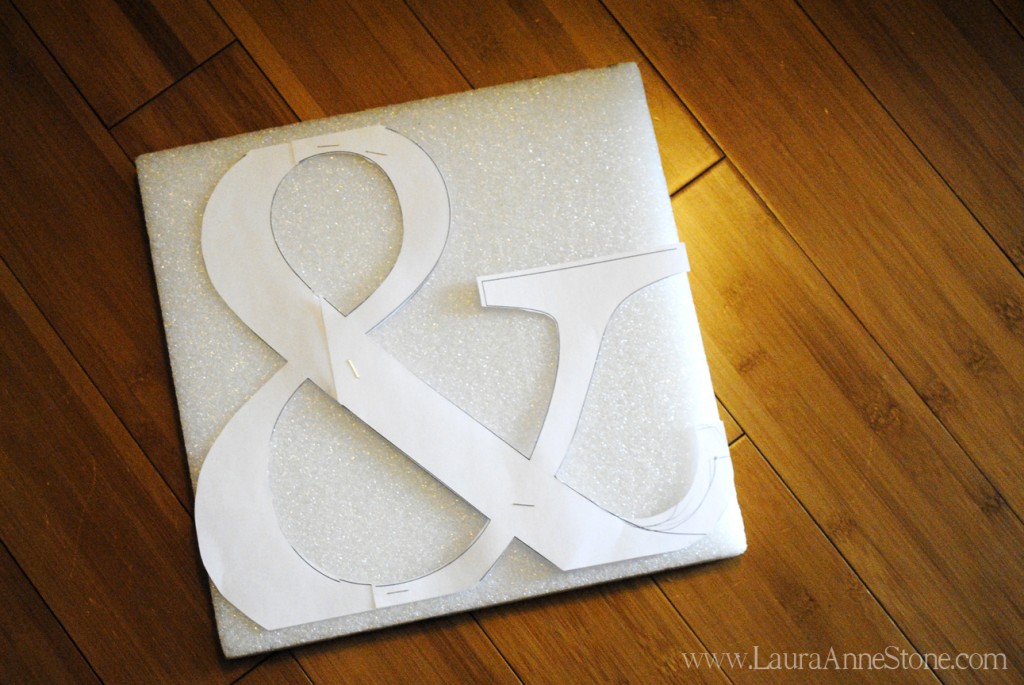
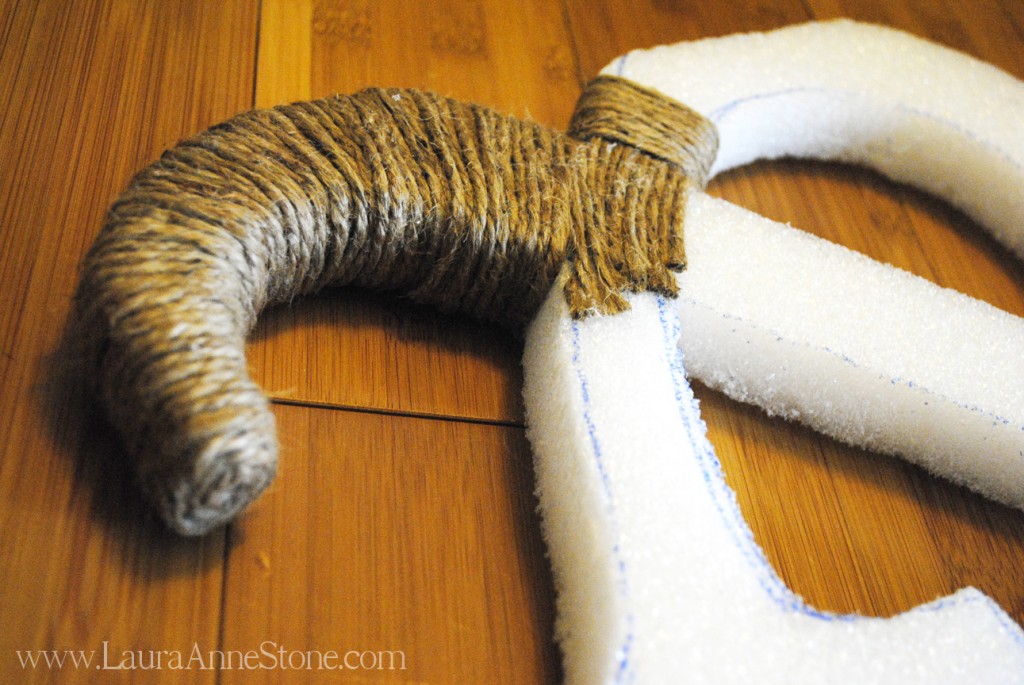
- Trace your character onto your base material. I totally cheated and used a printout of an ampersand but if you’re a badass and can freehand yours, go for it. More simple characters like T’s or H’s could probably be done pretty easily freehand unless you want a script font.
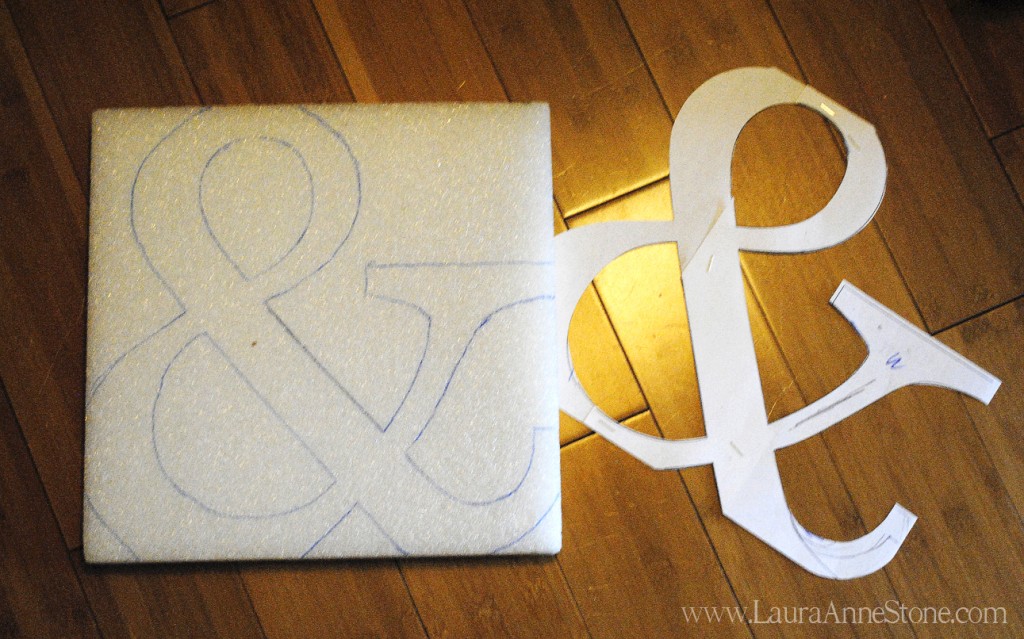
- Cut your base material, being careful not to stress narrow places like curves or intersections; try cutting the most challenging places first. If you do accidentally break off a piece, use your hot glue to stick it back on. Once I had my character cut, I used long bamboo skewers to reinforce the more fragile places like the long tails.
- Start wrapping your character by fraying the twine’s end and gluing it flat to your starting place so it doesn’t create bulk as you spiral around it. Places that overlap with no logical way to wrap (such as an intersection), glue down strips to simulate the direction of wrapping that looks the best, ensuring you leave enough length to be covered by the perpendicular wrapping.

- Periodically use glue to ensure your wrapping stays in place. For loops in your character, cut long pieces of twine instead of trying to wedge the whole spool through the loop. Try to always begin and end your pieces on the back of your character so it looks like one continuous piece from the front.
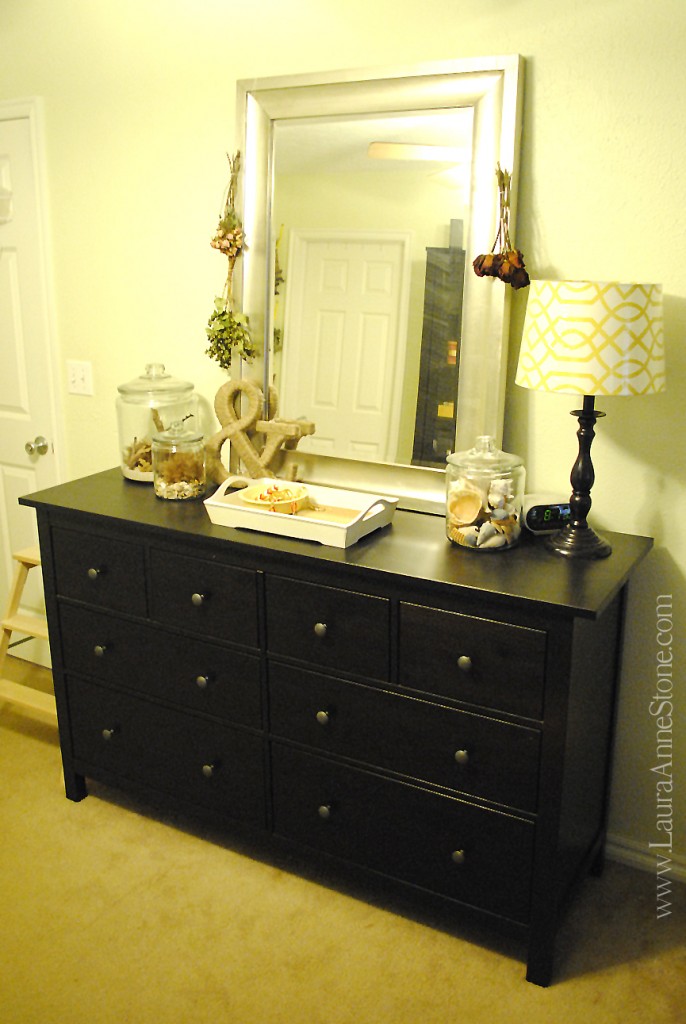
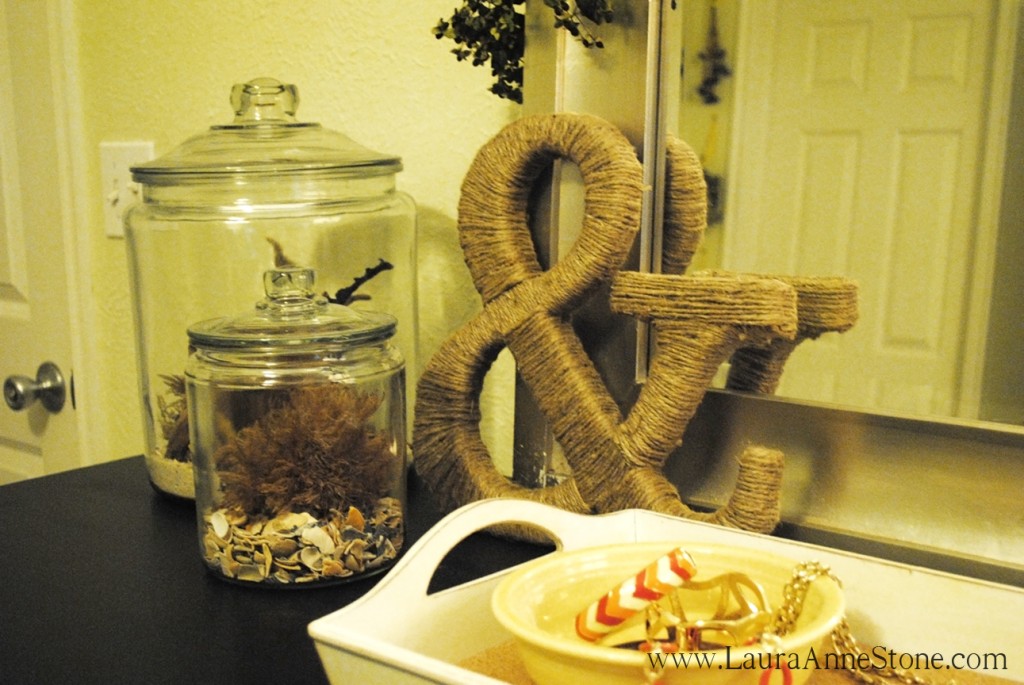
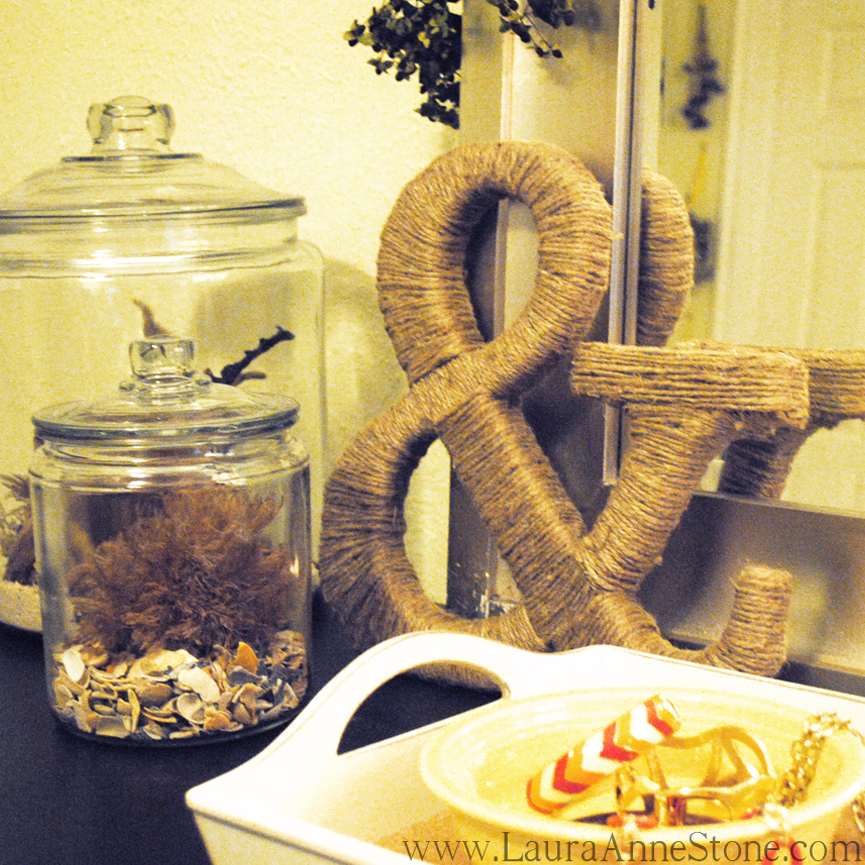
You can add embellishments or ribbon for hanging, but I decided to leave mine plain for now. Maybe once I get some of my domestic project completed I’ll use curtain or throw fabric scraps to make coordinating flowers or something. For now, however, I’ll just leave it at “Ta-da! I finally finished a project!”
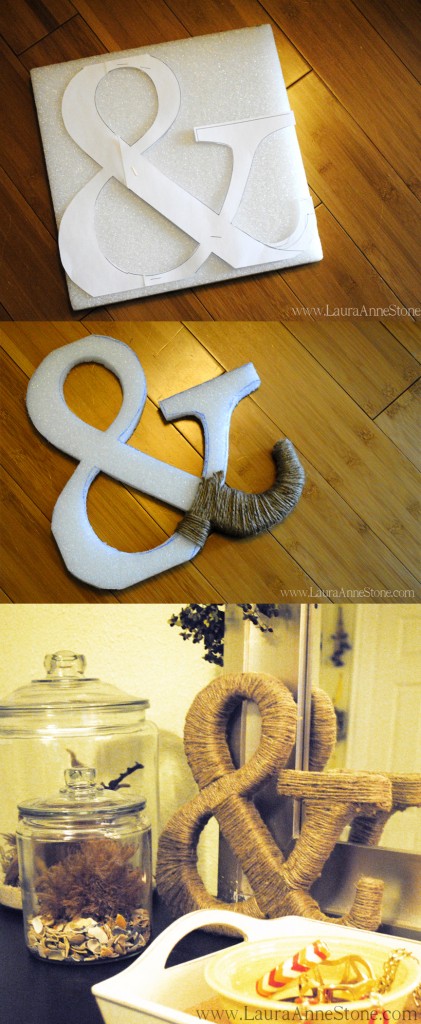
For easy Pin-ability, here’s the 1-2-3 Steps for the project: