Windows Pt. 4 – Sash and Exterior Trim Installation
With the repaired sashes and new casing frame compete, it was time to finally get rid of the chipboard window. We took final measurements, positioned the sashes, and restrung and hung the window weights.
Measuring one last time
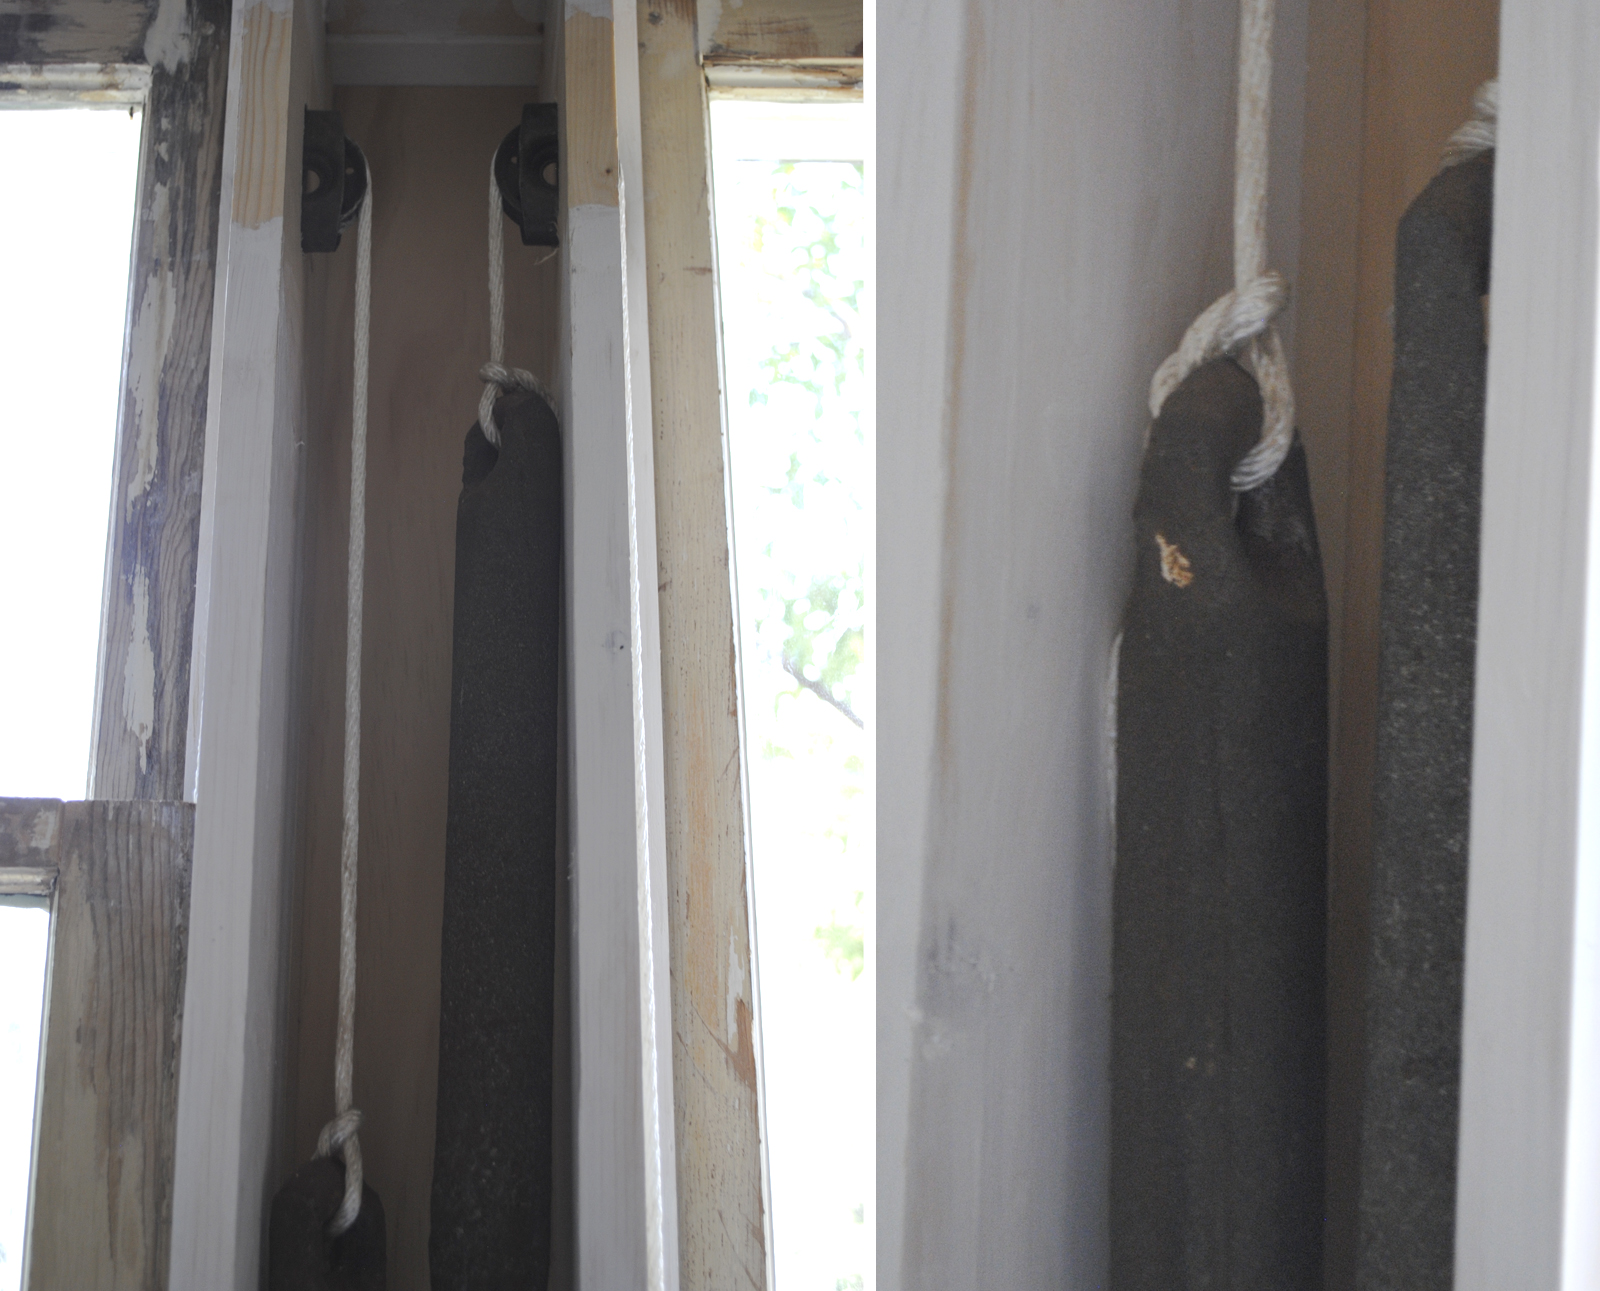
Original pig iron window weights and new cords installed
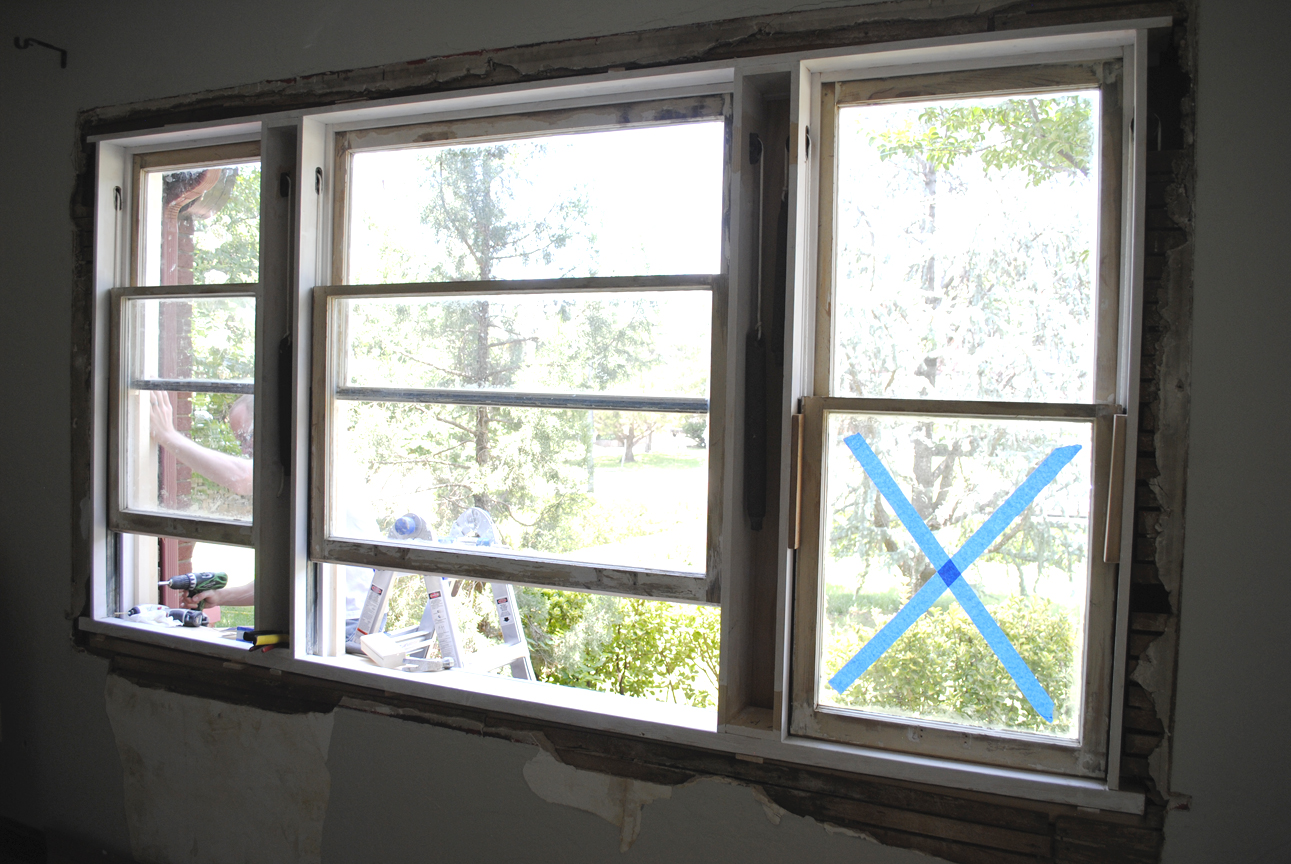
Double-hung window sash installation
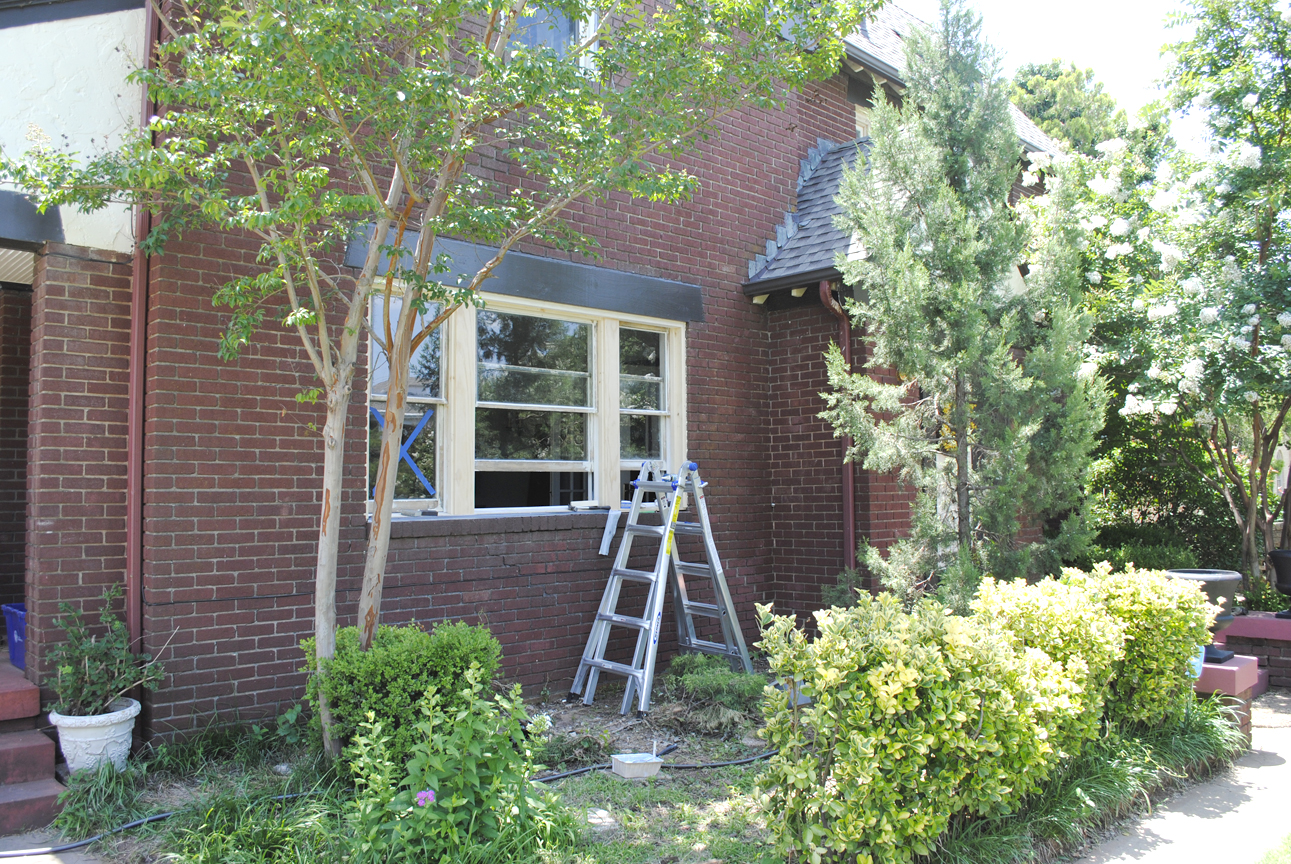
With the window stops all positioned correctly, we could install the new exterior trim.

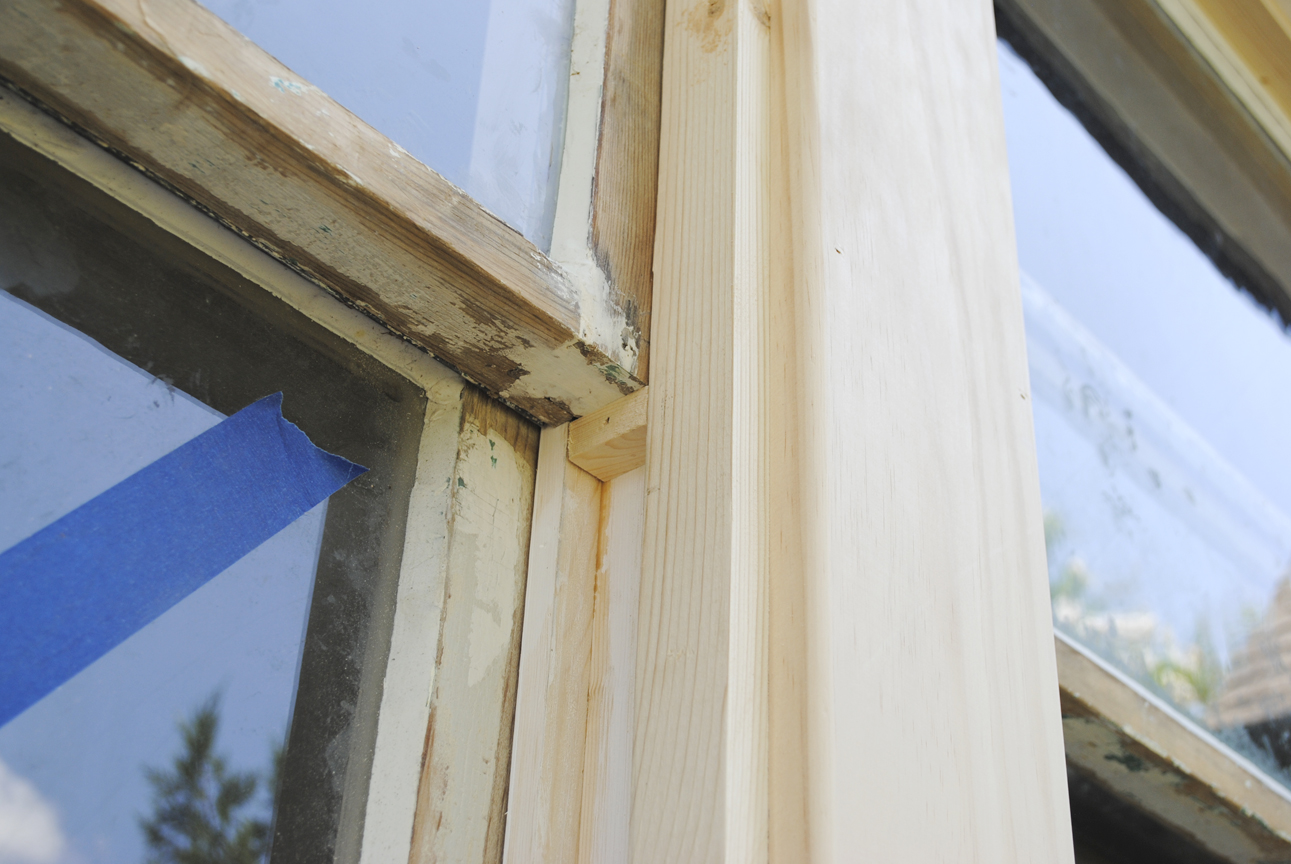
Exterior window trim installation
Although I’m sort of a purist when it comes to restoration, we decided to not install the upper sash weights and pulleys. We added stop blocks to hold the uppers in place, then sealed the exterior gaps with caulk. To the untrained eye, they look the same, but they just don’t move up and down. It’s an easy fix if we change our minds. The lowers still open as usual.
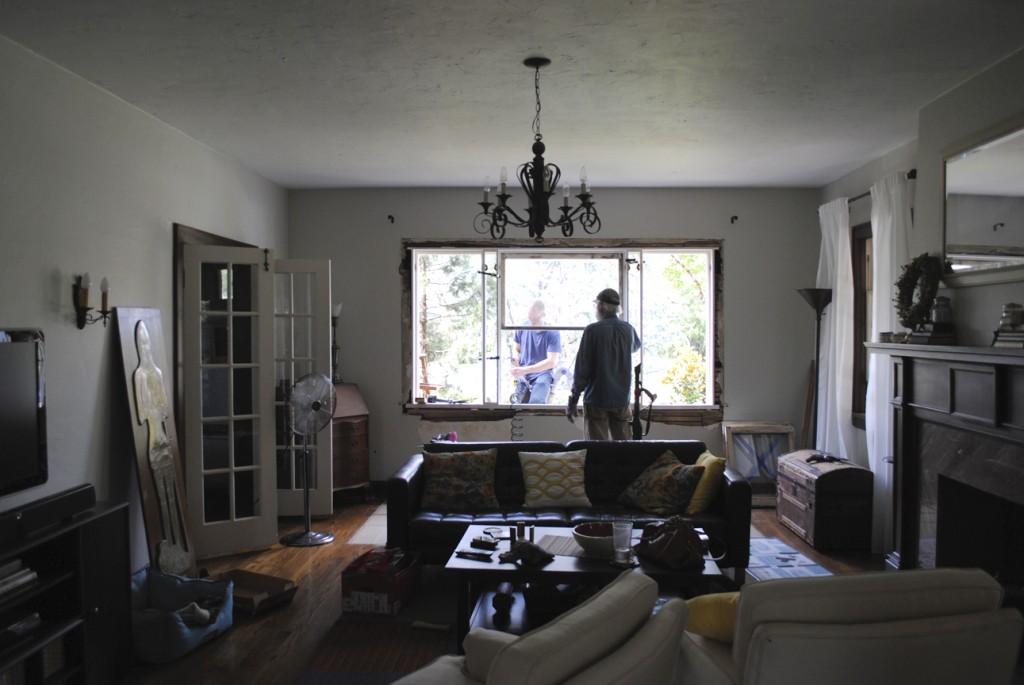
 Finally we have our living room back! Sort of…
Read more about our window restoration project…
- Part 1: Discovery & Demolition
- Part 2: Casing Frame Installation
- Part 3: Rotten Sash Repair
- You’re reading: Part 4: Sash and Exterior Trim Installation
- Part 5: Interior Wall Repair (because of course the plaster is falling off too)
- Part 6: Interior Trim Rehab & Installation