Windows Pt. 2 – New Casing Frame Installation
So with everything removed it was time to build a frame.
Measuring the rotten and partially replaced structure in the wall would be extremely impractical if not impossible – and honestly just the thought of trying to figure out where everything went makes my stomach turn even now. So those geniuses, Jeremiah and his dad, used the old frame as a sort of jig, laying it flat in the driveway and building the new frame on top.
Unfortunately, there wasn’t much left to use and what was there was soft and rotten, so they took extra care to preserve what was left of the original.
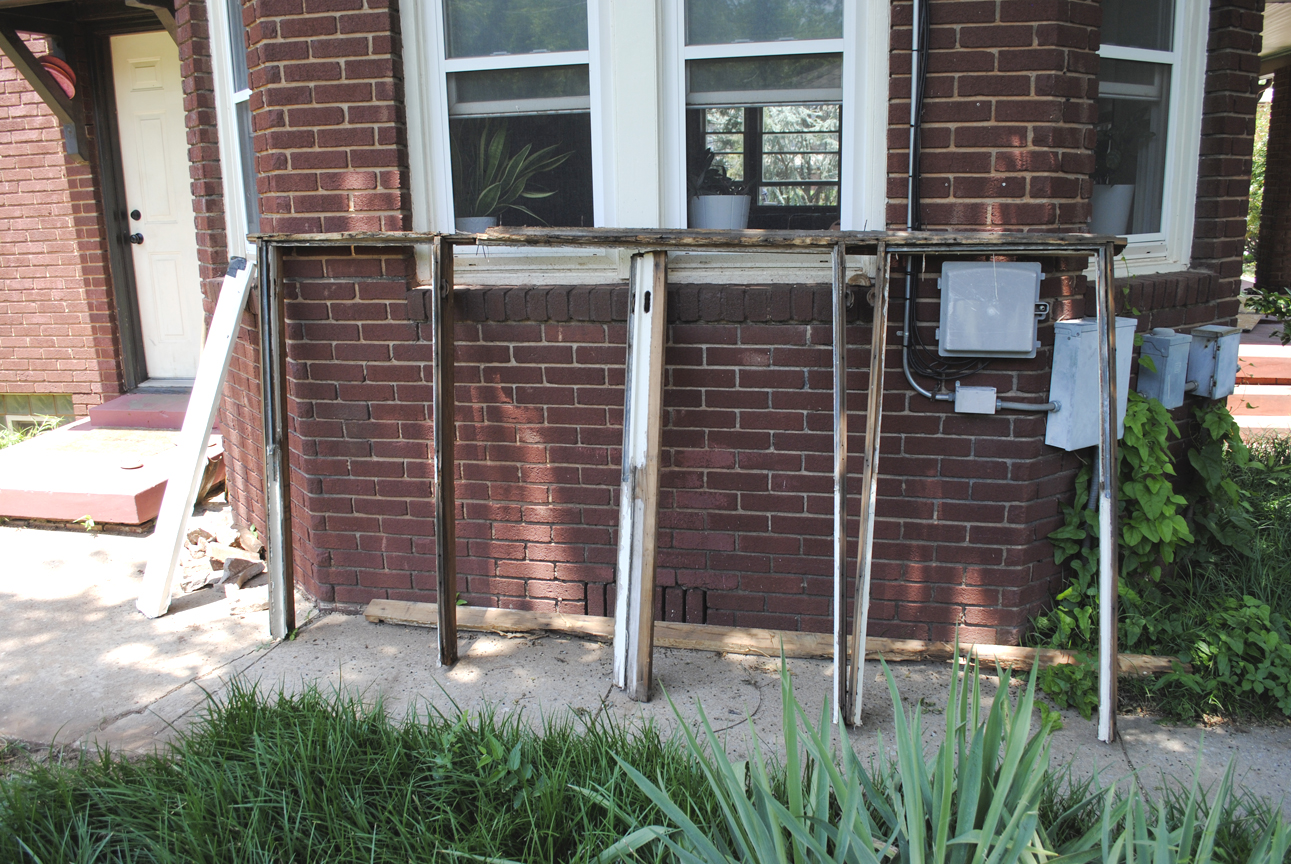
Original (rotted) window casing frame
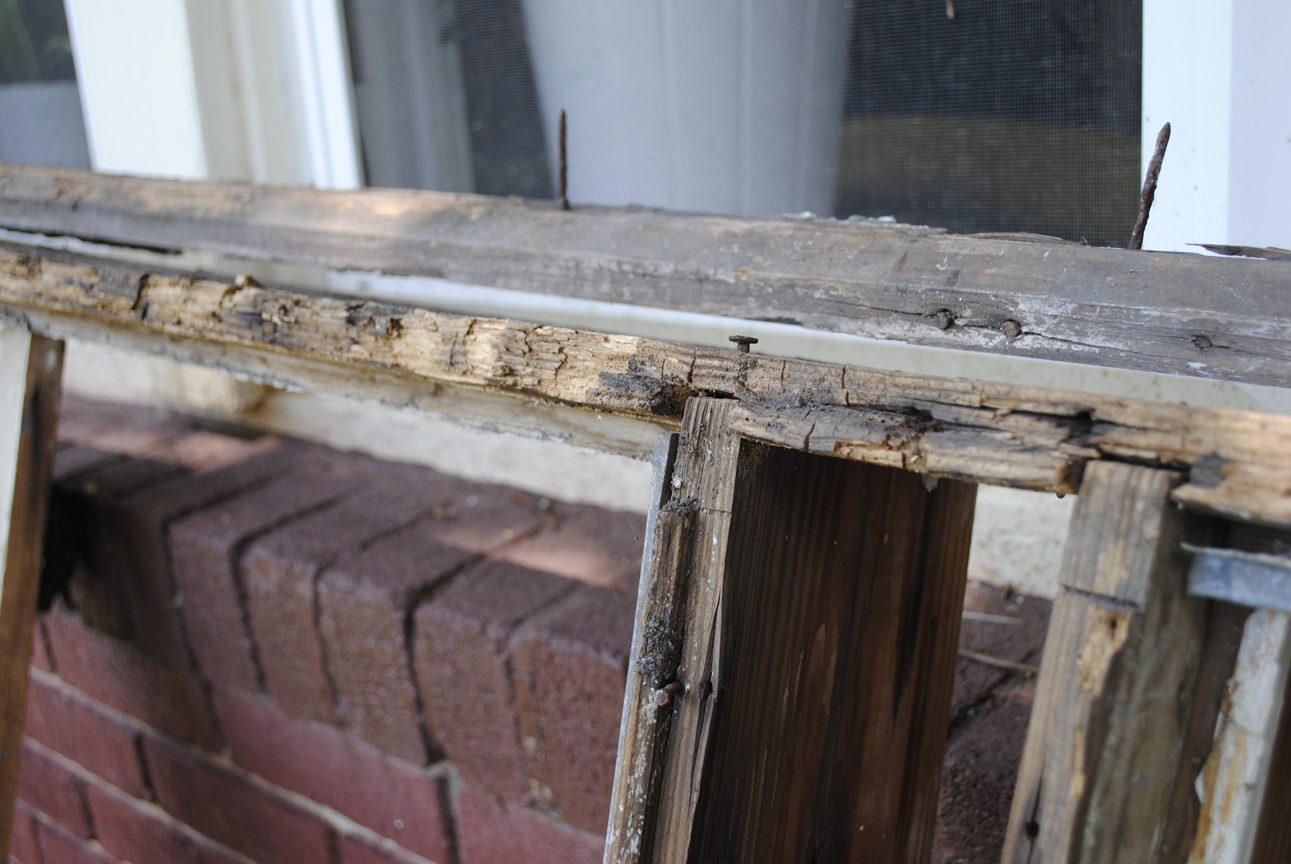
Rot on the original window casing frame
Once they built the frame, we still had to install the window weight pulleys. We thought this would be very complicated, involving the router and some serious measurements. Then we knocked out the old pulleys and learned how they did it originally: four holes drilled in a line. Oh the simplicity!
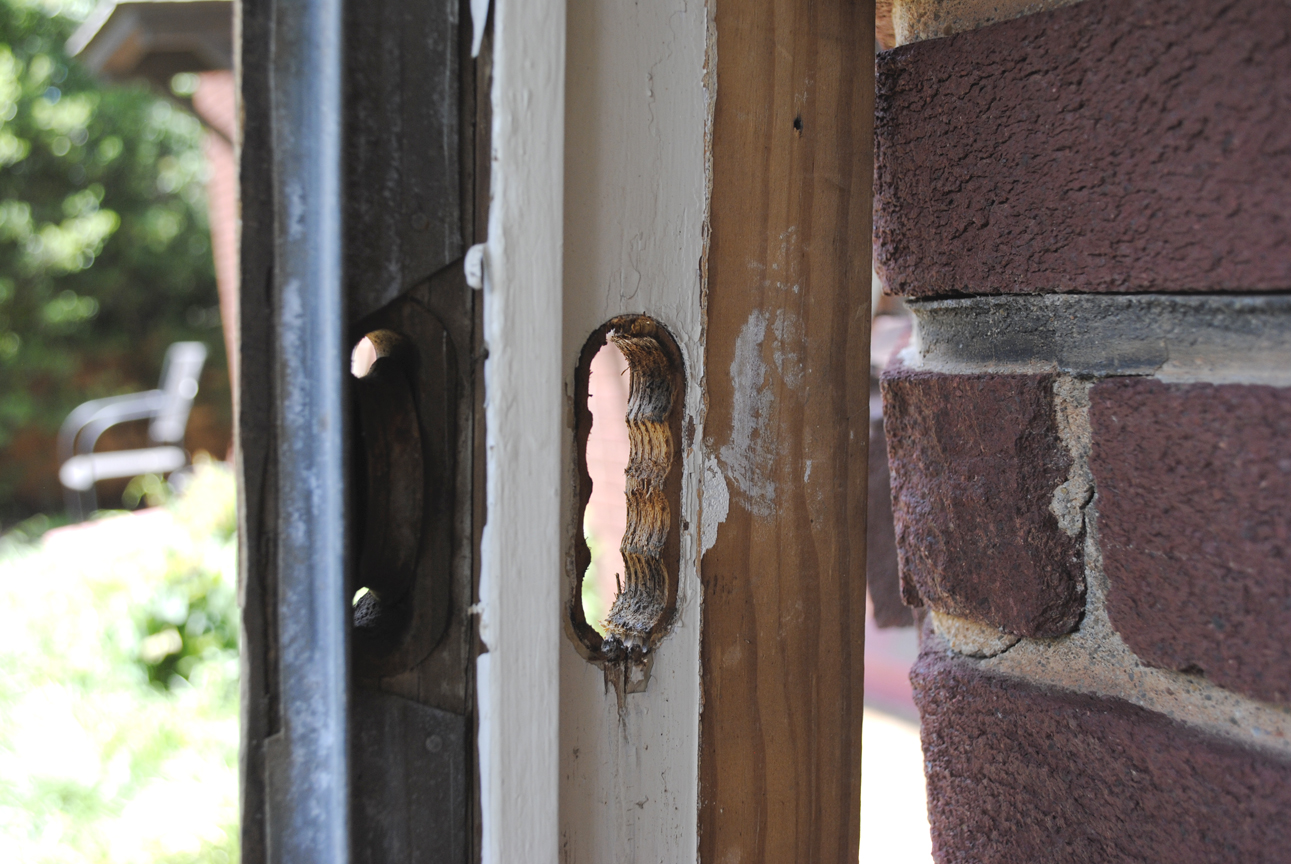
Four holes drilled in sequence to accommodate the window weight pulleys
With the pulleys removed, we knocked them into place and then re-installed the new casing frame.

Window sash weight pulley
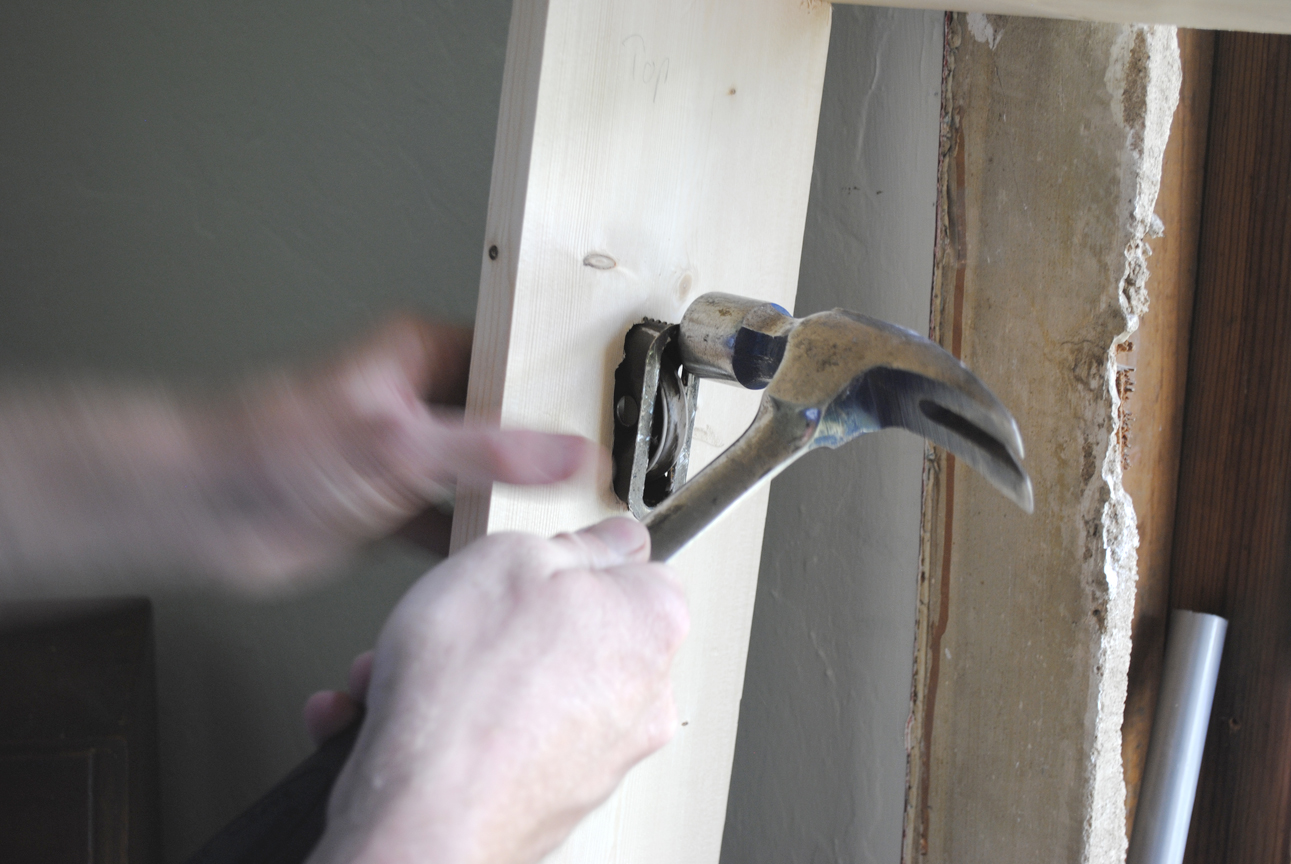
Installing the window sash weight pulley // Very high-tech
Oh happy day! And what a long day that was. I don’t think I’ve been as exhausted as I was that day. It was the day that I kept telling myself, “This is a test, and I’ll be damned if this house is going to beat me.”
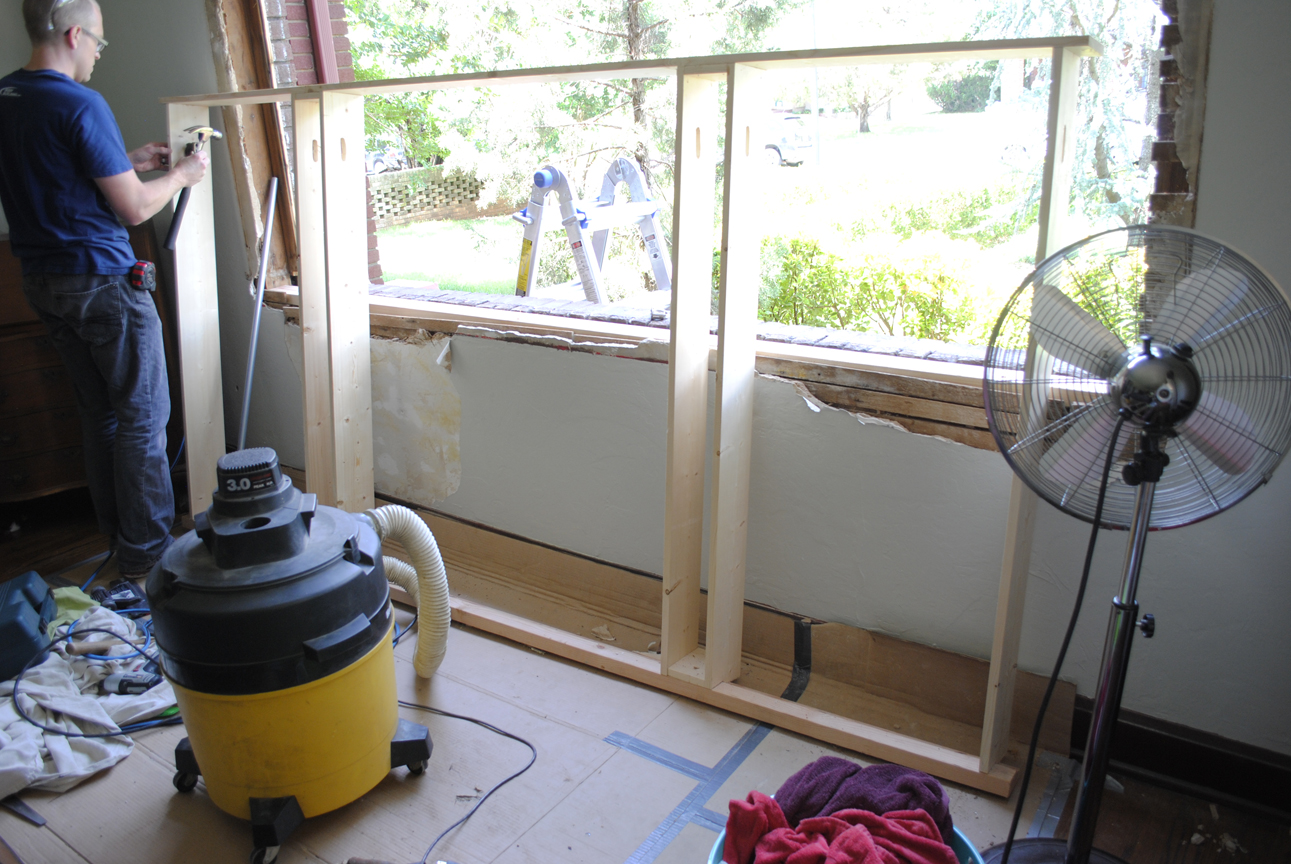
New rebuilt window casing frame ready for install!
Read more about our window restoration project…
- Part 1: Discovery & Demolition
- You’re reading: Part 2: Casing Frame Installation
- Part 3: Rotten Sash Repair
- Part 4: Sash and Exterior Trim Installation
- Part 5: Interior Wall Repair (because of course the plaster is falling off too)
- Part 6: Interior Trim Rehab & Installation